

On February 22, 2011, Microsoft released the Service Pack 1 (SP1) of Windows 7. It is a significant update, including many security, performance, and stability updates for Windows 7 released previously. Some users reported that many system features were improved, for example, the reliability of connection with HDMI audio devices largely increased. The Service Pack 1 also repairs many bugs found in Windows 7, so it is strongly recommended to install the update. Here are the steps on how to check if you have Service Pack 1 in your system. If not, you'd better turn on the Windows Update and make your system up-to-date.
Steps - How to Check If You Have Service Pack 1


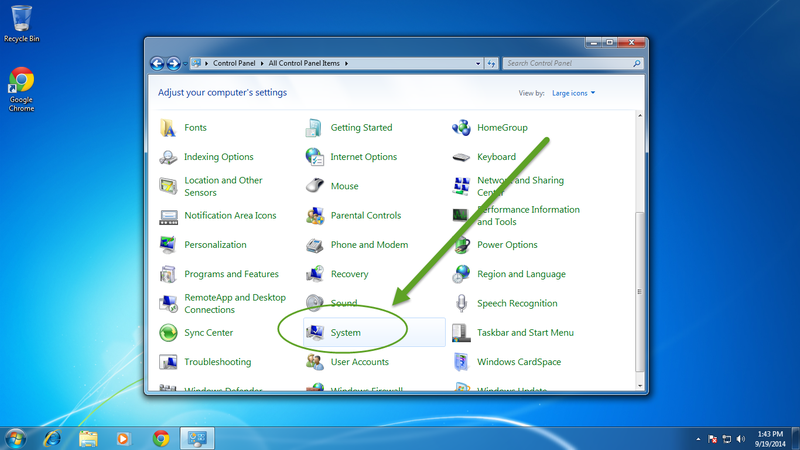
If the items in Control Panel are shown as large icon, you can simply find "System" at the end of the windows and click on it.
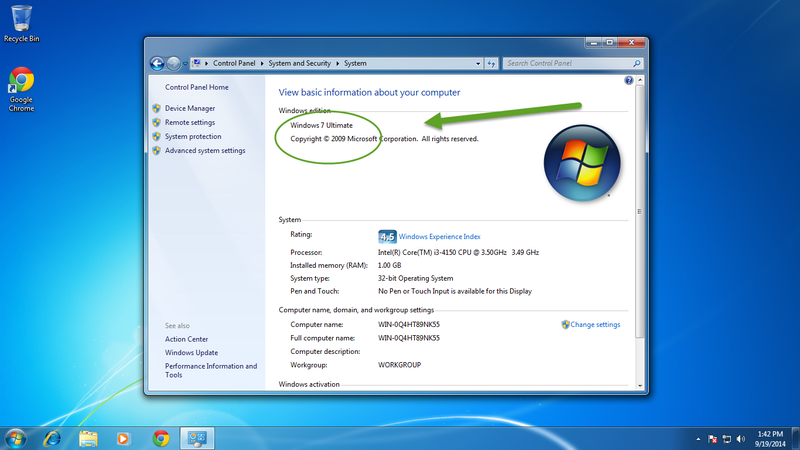
In the following window you'll see the version of your system. The picture bellow shows the circumstance with Windows 7 Ultimate version but without Service Pack 1. If you have installed Service Pack 1, you'll see the text "Service Pack 1" under the text "Copyright © 2009 Microsoft Corporation. All rights reserved." If you want to install the Service Pack 1, you can open the Windows Update in Control Panel and install all the updates. Restart the computer and repeat steps 1-5, then you'll see if you have installed it successfully.
View All Comments /Add Comment