
Everyone has his own privacy. Sometimes you may want to hide some folders containing the files you don't want to show to others, or you may have many folders in your disk, and you want to delete them but you are not sure if these folders are necessary for your system. At that time, you still have another choice, which is to hide these folder so that you won't see them. Meanwhile, these folders are still in your disk so nothing wrong will happen in your system. Even these folders are hidden, you can still find them and show them in your disk easily. Here are the steps on how to hide a folder in Windows 7.
Steps - How to Hide a Folder in Windows 7
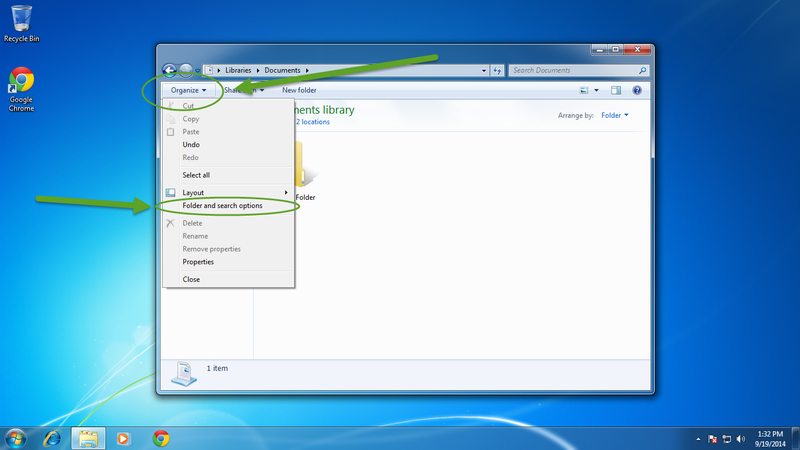
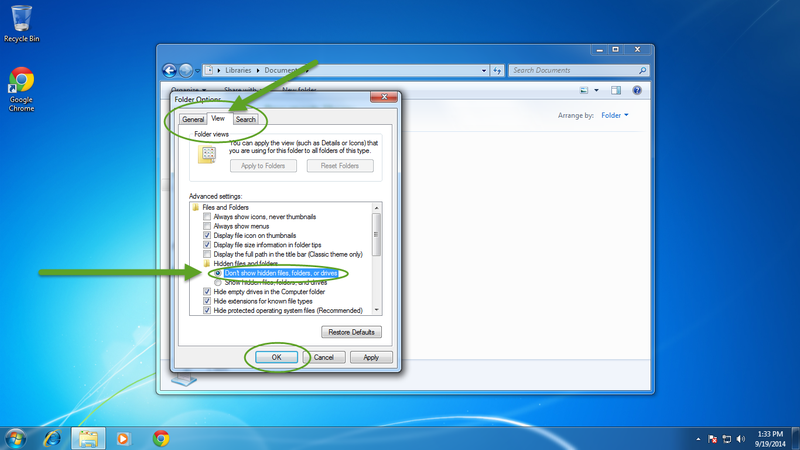
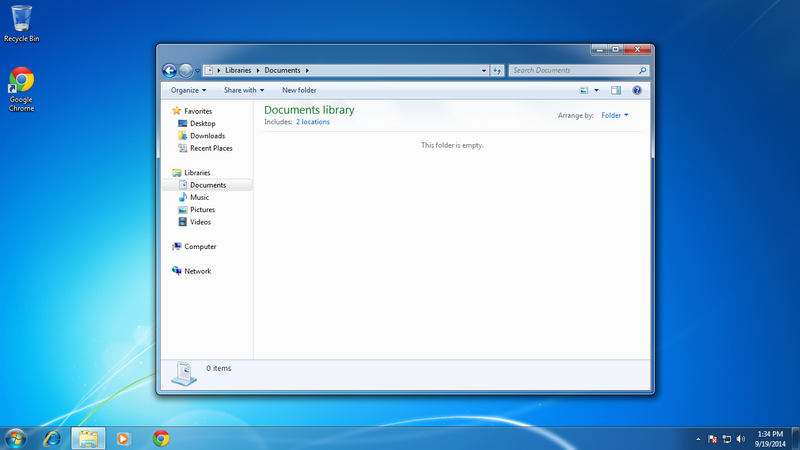
The window of "Folder Option" will be opened. Switch to "View" tab and make sure the option "Don't show hidden files, folders or drive" is selected. Click on the button "OK" to save the changes.
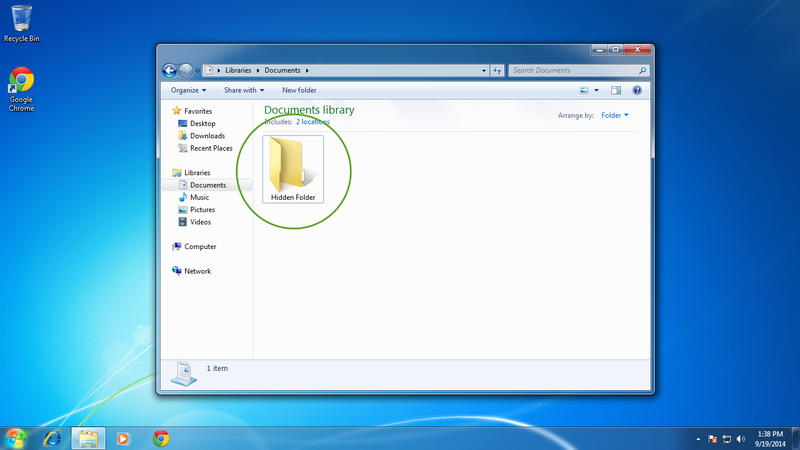
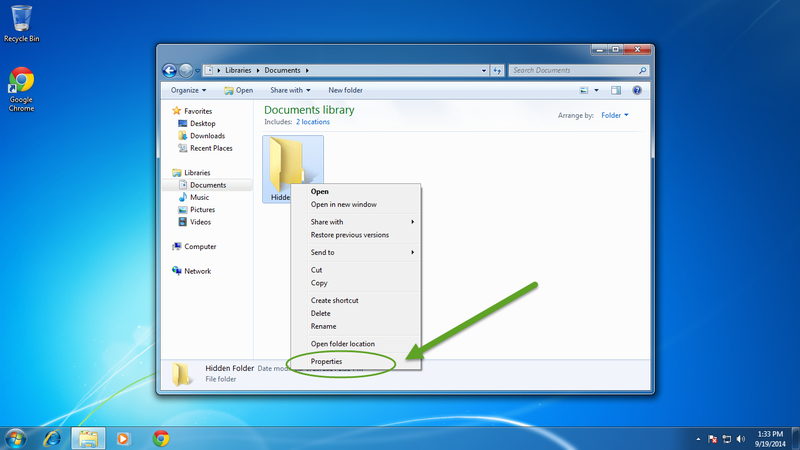
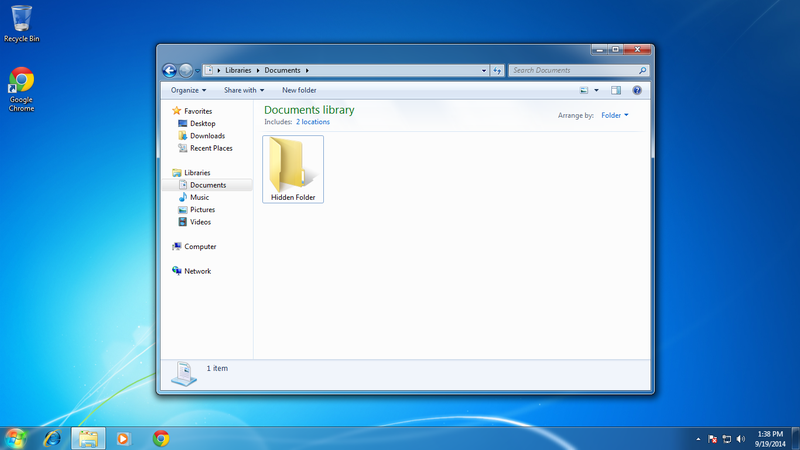
Then return to the previous folder. Right click on the folder you want to hide, select "Properties" on the following menu.
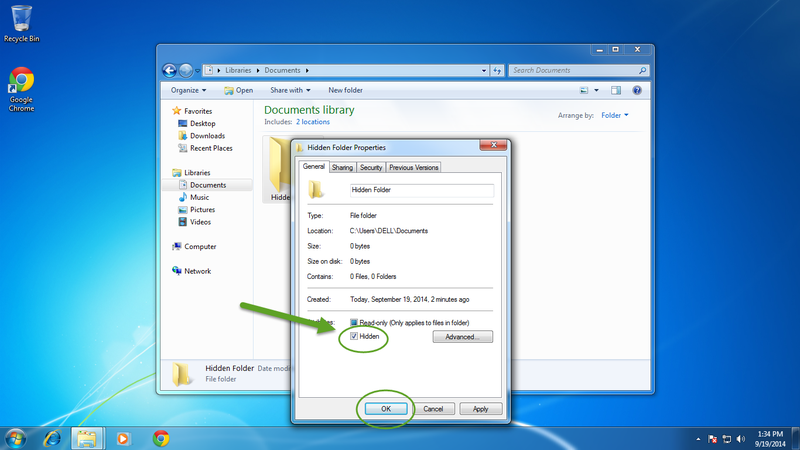
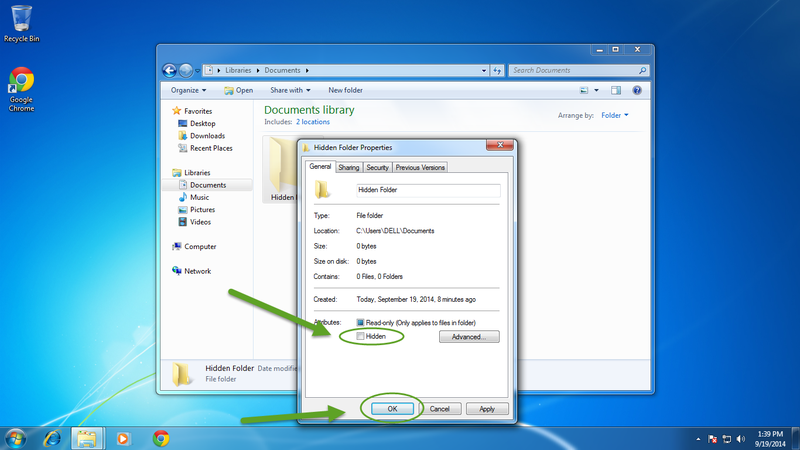
Tick off the checkbox before "Hidden", and click on the button "OK" or "Apply" to save the configuration.
If you want to switch the hidden folder to normal folder, then you can repeat step 2. In "Folder Options" window, switch to tab "View" and select "Show hidden files, folders, and drives". Click on "OK" or "Apply" to save the changes.

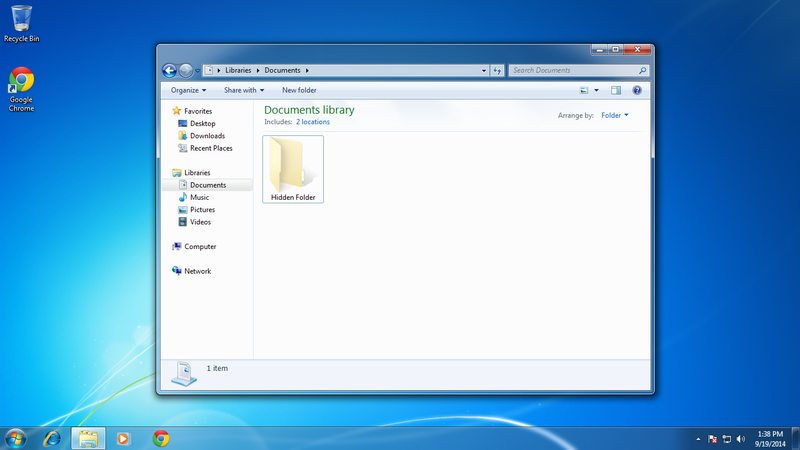

Cancel the checkbox before "Hidden". Click on the button "Apply" or "OK" to finish the operation.
- If you want to hide this folder again, repeat steps 2 to 5.
View All Comments /Add Comment